 24/7 Emergency Service
6 Steps To Properly Flush Your Water Heater
8/13/2021 (Permalink)
 If you ever have a leak or water damage from your water heater, call SERVPRO
How to Flush a Water Heater Properly in 6 Easy Steps
To get the most use out of your water heater in Carpentersville, IL, maintenance is typically required. Over time, the appliance may collect mineral deposits that can cause permanent damage leading to leaks. It’s often important to perform a water heater flush every one to three years to clean out any damage-causing crud. Here are the steps to properly complete your water heater flush.
1. Turn off the Appliance
You should put safety as step number one on any maintenance project. Make sure the appliance is turned off and the gas valve closed. Before draining, you may want to wait until the water cools down so you aren’t risking a burn. If time is a factor and you decide not to wait, make sure to exercise caution as the water may be extremely hot.
2. Turn off the Water Supply
The cold-water supply valve connected to the top of the water heater should be closed to properly drain the unit. The valve typically looks like a regular garden hose valve and should be easy to turn.
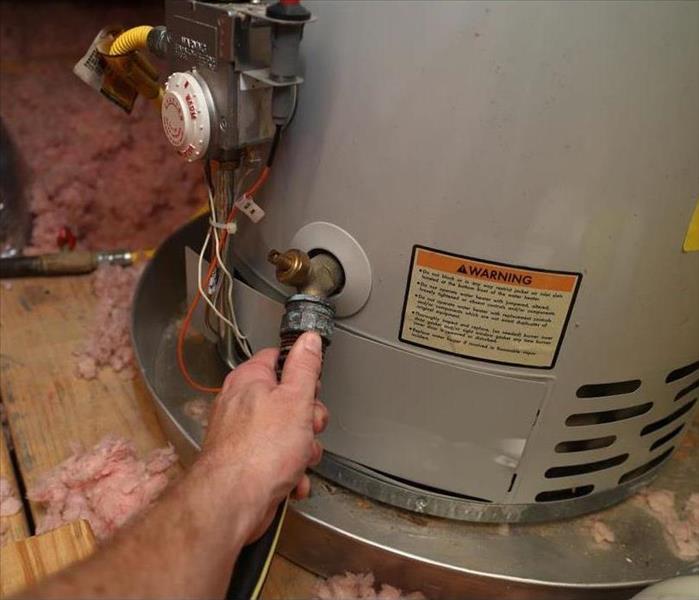
3. Drain the Tank
Connect a hose to the spigot on the bottom of the tank. Position the hose to run into your designated drain area, such as a floor drain, and open the valve. Let the tank drain until it’s completely empty. Turning on the hot water at the kitchen sink can create airflow and allow the appliance to drain faster.
4. Flush out the Mineral Deposits
While the hose is still connected, turn on the cold-water supply valve to run water through the tank to flush out any loose mineral deposits. Once the water starts to come out clear, close the supply valve and the drain valve. Disconnect the hose.
5. Refill and Power up the Appliance
Open the cold-water supply valve to let the tank fill up. Once you’re sure the tank is filled, turn the gas back on and follow the proper instructions on lighting the element.
6. Repeat as Necessary on a Regular Basis
Never neglect your household appliances. Taking care of this appliance should prevent costly repairs and ensure its longevity.
With these six steps, you can be prepared to tackle the job. If you ever have a leak or water damage from your water heater, call on the professionals for cleanup.